Contents
Thank you coffee, you have inspired me, literally.


 So last week as I was sitting at my neighborhood café, sipping my usual Americano with 2 packs of sugar and a lot of milk, I picked up the coffee sleeve and BAM, my what-if idea came to me! Quick explanation, being DIY girl I am always looking at everyday things in a “what-if” angle.
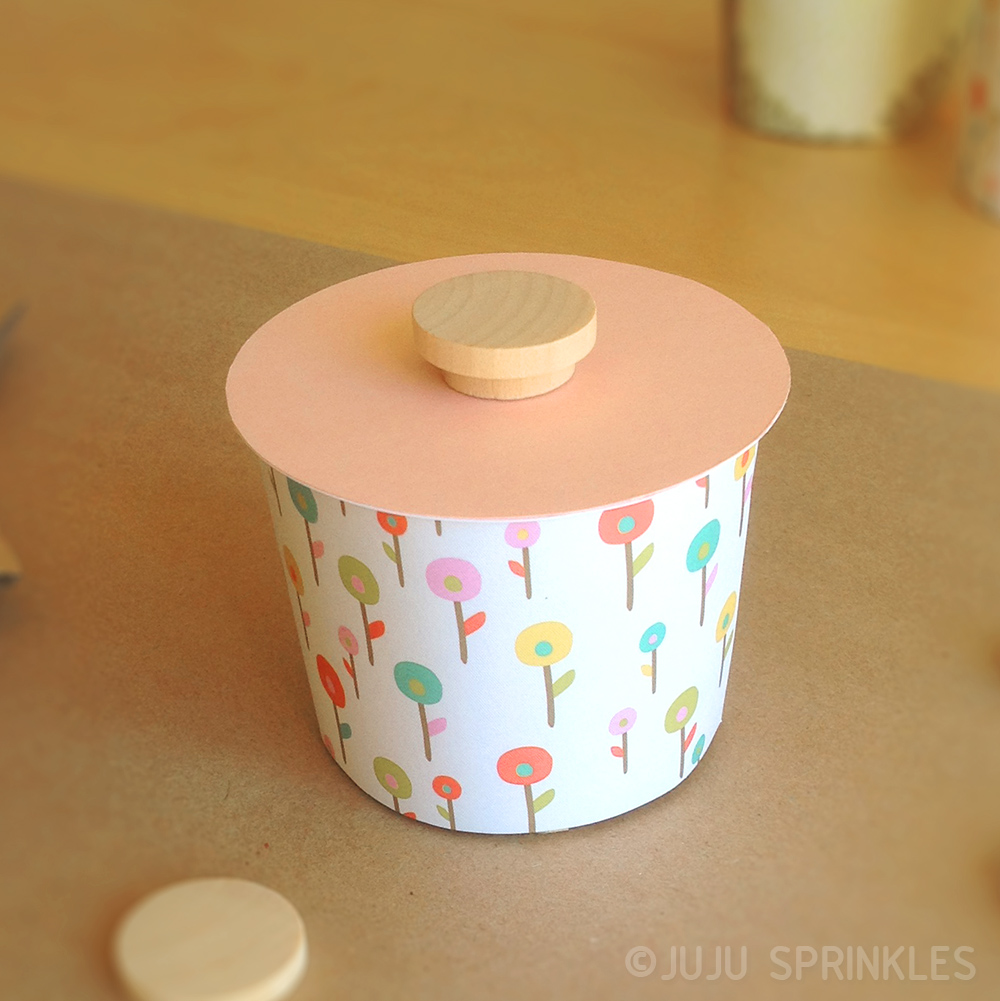
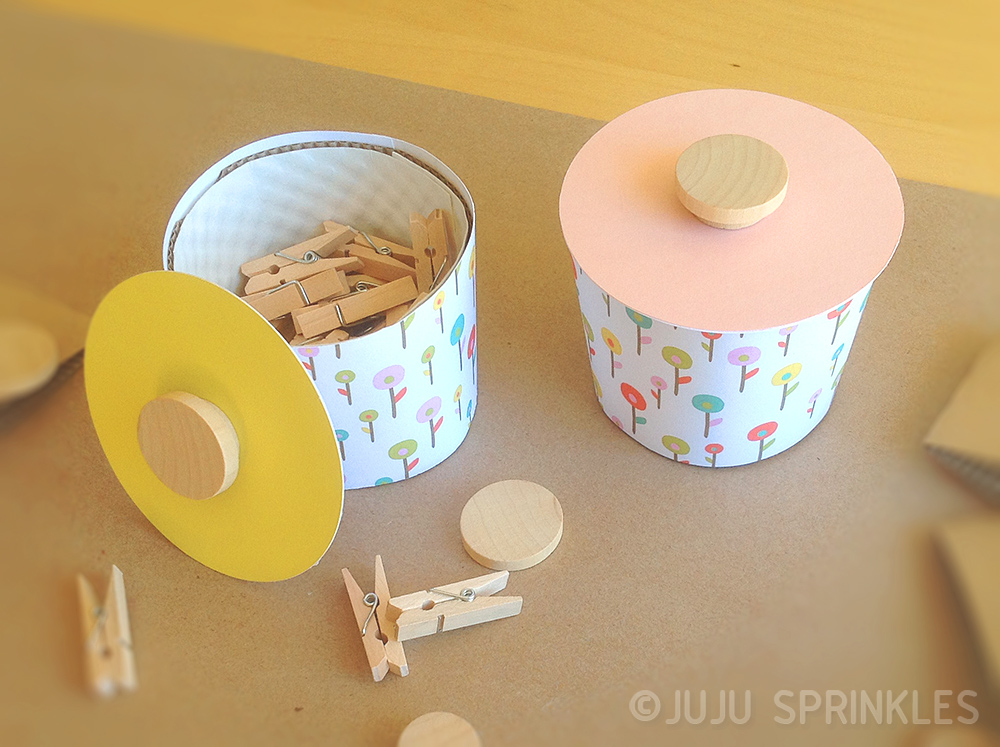
When I got home, I pulled out all my craft papers and tools and started attacking the coffee sleeve. It took a few attempts before I reached what I had envisioned. After I made one, I knew I had to make more because why settle for one when you can make so many without costing you an arm and a leg! These coffee sleeve containers are great for storing little things like hair ties and pins, paper clips, wooden pegs, magnets, batteries, cotton pads, keys, pretty much anything you want! And the best part is, it’s totally budget friendly, or free if you are a cafe junkie.
 I always love using what I can find around me and up-cycle it. Personally, that is the highest level of satisfaction as a DIY girl. It doesn’t happen often, but when it does, I get really giddy, like I just made a breakthrough discovery.
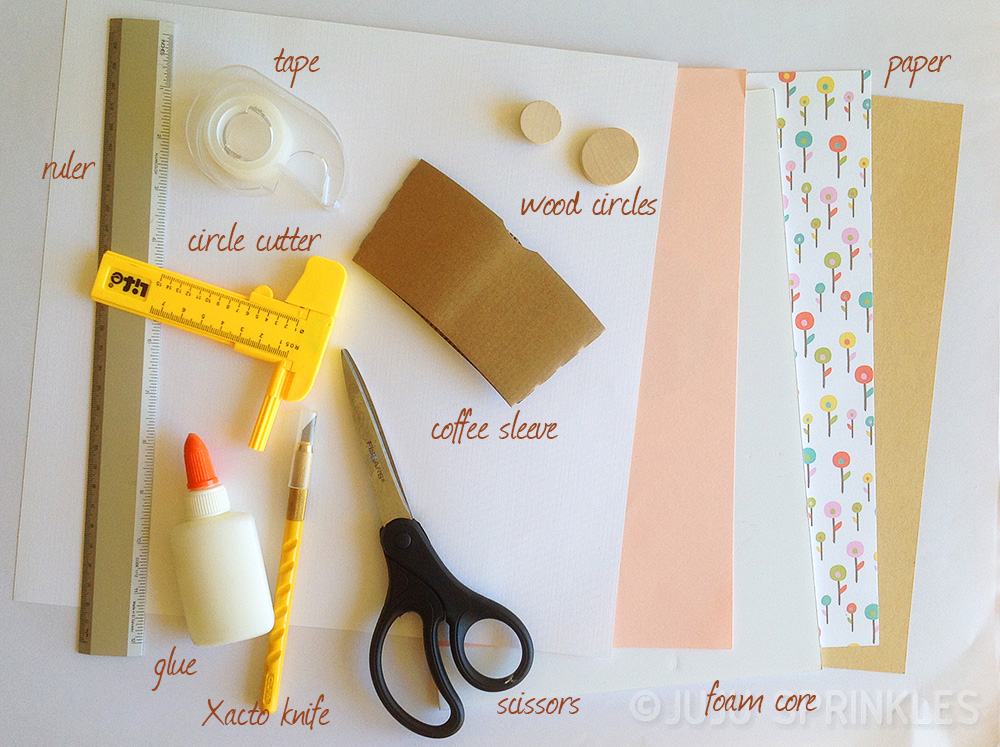
Upcycle Coffee Sleeve Container
Level: (easy to hard)
Total Time: 45 min
Supplies : (for 1 container)
- 2 coffee sleeves (one for tracing, one for container body)
- Solid color paper (lid)
- White card stock paper (reinforce lid)
- Foam core (underside of lid)
- 1” wood circle (lid handle)
- ½” wood circle (lid handle)
- Graphic card stock paper (body)
- Kraft paper or any color paper (bottom)
- Tape
- Craft glue
- Pencil & eraser for tracing
- Circle cutter or compass with scissors
- Scissors
- Ruler
- Cutting mat
- X-acto knife
Instructions:


- Trace bottom of coffee sleeve on kraft paper with a pencil , cut ¼” away from the actual circle.
- Cut small strips all around the circle.
- Make the base by fold up the strips and tape them around the outside of the coffee sleeve bottom.
- Make the body of the container by opening one of the coffee sleeves and tracing it on graphic card stock paper. Cut 1/8” away from the actual trace. This is important, otherwise your graphic paper won’t be large enough to wrap around the coffee sleeve. Glue the cutout graphic paper around the other coffee sleeve.
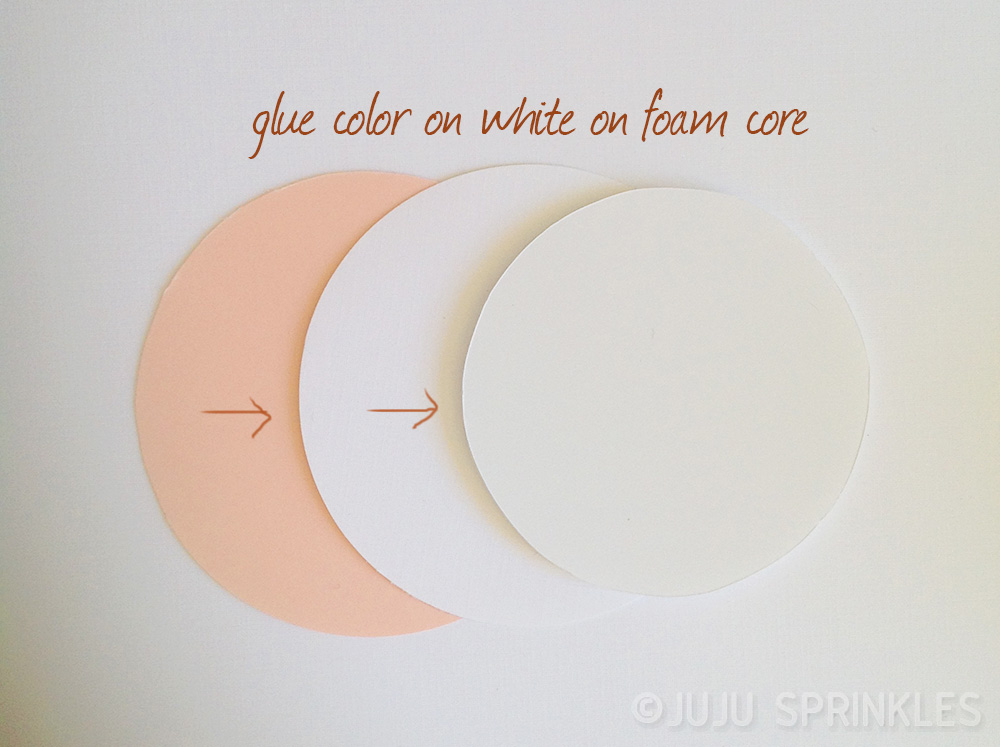
- Make the lid by cutting out identical circles from white and solid color stock papers and glue them together. The size of the circle depends on the size of the top of the coffee sleeve. Trace a circle slightly bigger than the top of the coffee sleeve with the compass and cut it out with scissors or if you have a circle cutter, test cut a circle on unwanted paper first before you cut on your fancy paper.
- Make the underside of the lid with foam core by cutting out a circle 1/8” smaller than the top of the coffee sleeve. Then glue it to the white side of the lid (5.)
- Make the handle by gluing the smaller wood circle to the center of the lid (color paper side) and then glue larger wood circle on top of the smaller wood circle.
- Let all glue dry, and now you have coffee sleeve container!
Like this? Join Sprinkles Letters for the latest posts!
![]()